Installing solar street lights is a structured process that combines civil engineering (foundation) with electrical assembly. Given your background as a mechanical engineer and your expertise in solar/LED technologies, you will likely find the technical precision of the installation—particularly regarding battery health, thermal management, and panel efficiency—very straightforward.
Here is a consolidated technical guide for a successful installation.
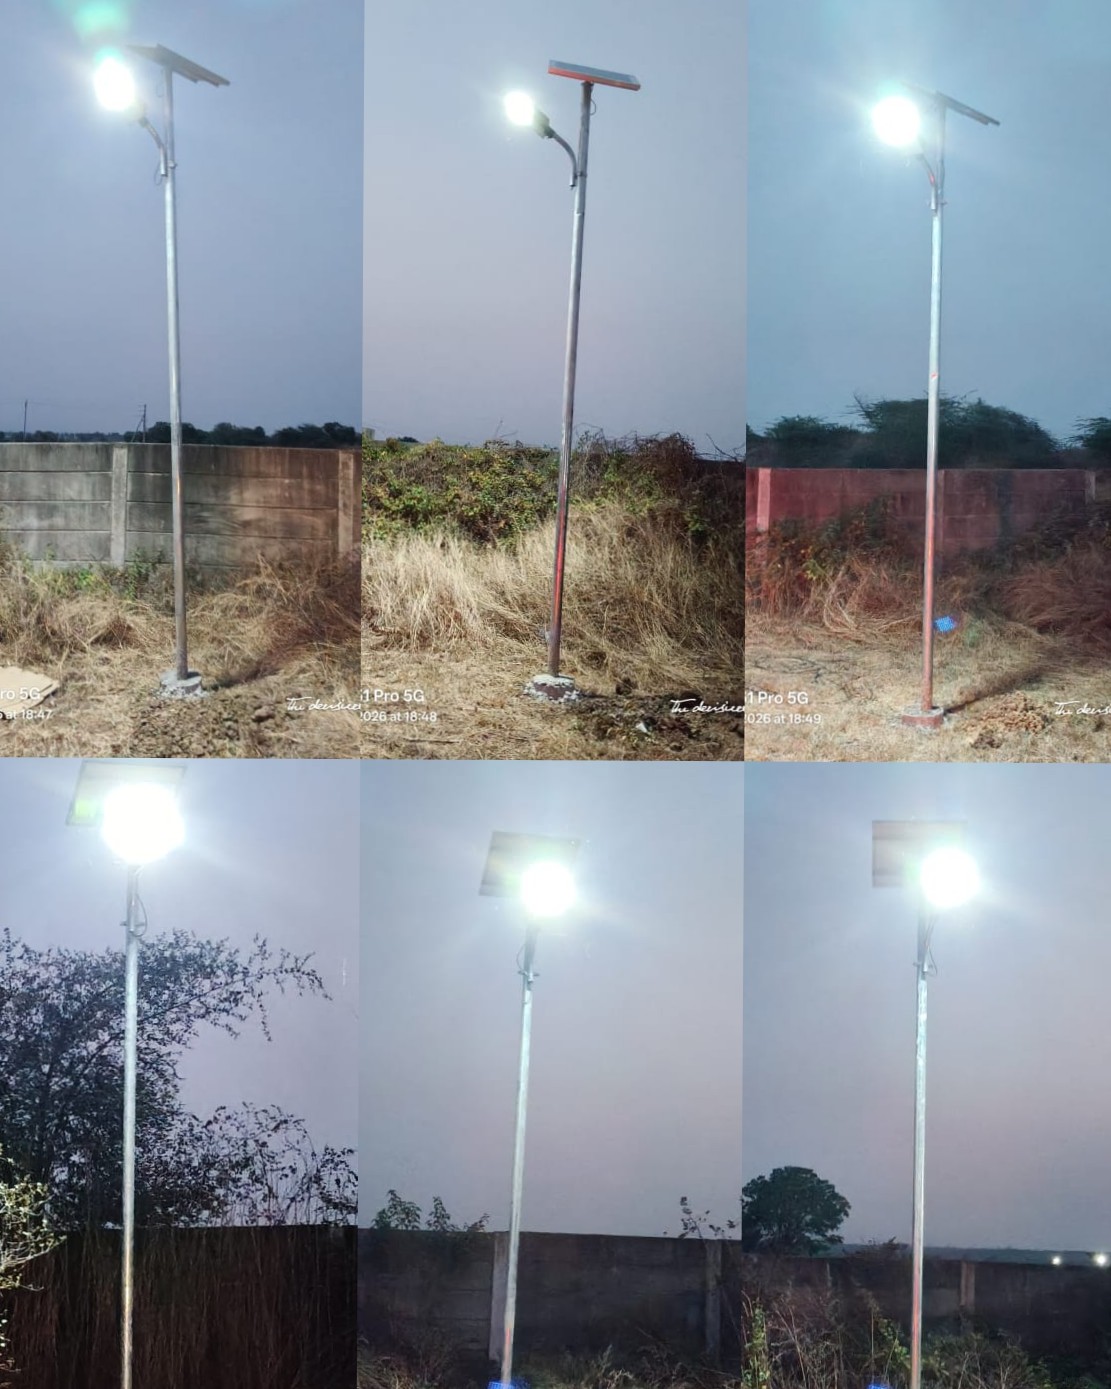
1. Site Preparation & Assessment
Before moving any materials, ensure the site meets the energy generation requirements.
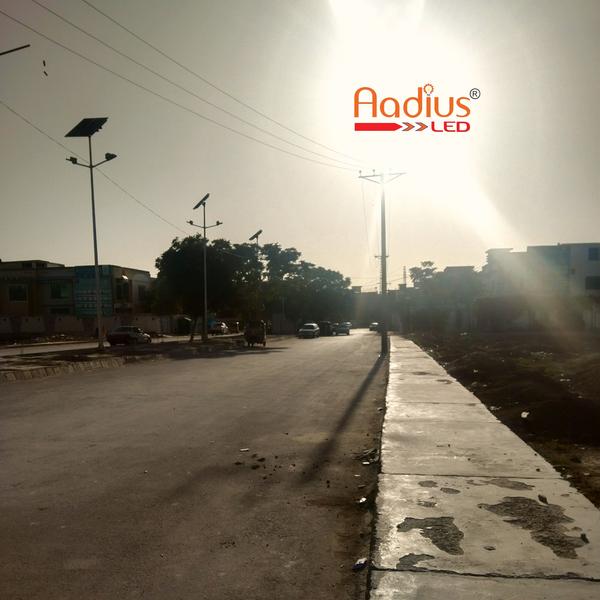
* Shading Analysis: Verify that the panel location is free from shadows (trees, buildings, signage) throughout the day.
* Orientation: Panels must face True South (if in India/Northern Hemisphere).
* Sunlight Exposure: Account for local variations in solar radiation to ensure the battery capacity is sufficient for the target "autonomy" (number of consecutive cloudy days the light can stay on).
* Thermal/Environmental Factors: Since you are in Ghaziabad, ensure the battery housing (especially for LiFePO4) is protected from extreme heat to prevent degradation, and that the pole/mount is wind-rated for the area.
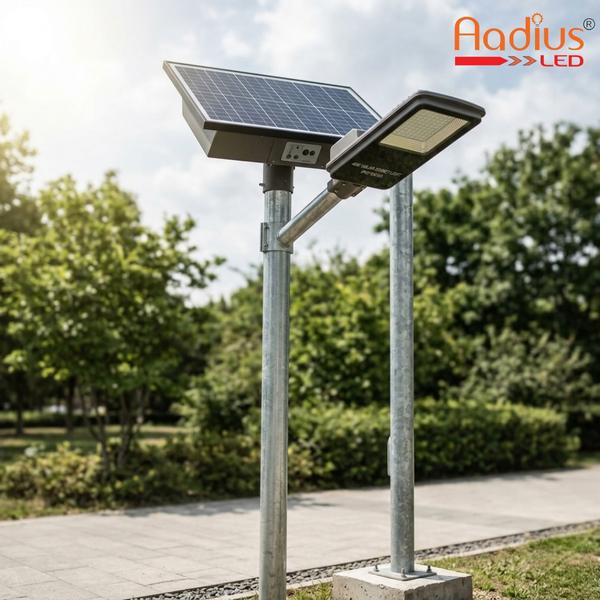
2. Foundation & Pole Erection
* Pit Excavation: Excavate according to your pole height and local soil load-bearing capacity.
* Foundation Kit: Use a rigid template to set the anchor bolts. Precision is critical here; ensure they are perfectly vertical and level. A few millimeters of drift can make mounting the pole base flange difficult.
* Concrete Curing: Ensure the foundation is fully cured before mounting the pole to handle the wind load.
* Leveling: When lifting the pole, use a two-axis level to ensure it is perfectly vertical. Torque the base nuts in a star pattern and re-torque after the pole settles.
3. Assembly & Electrical Connections
Since you are familiar with LED drivers and battery assembly, focus on these reliability checkpoints:
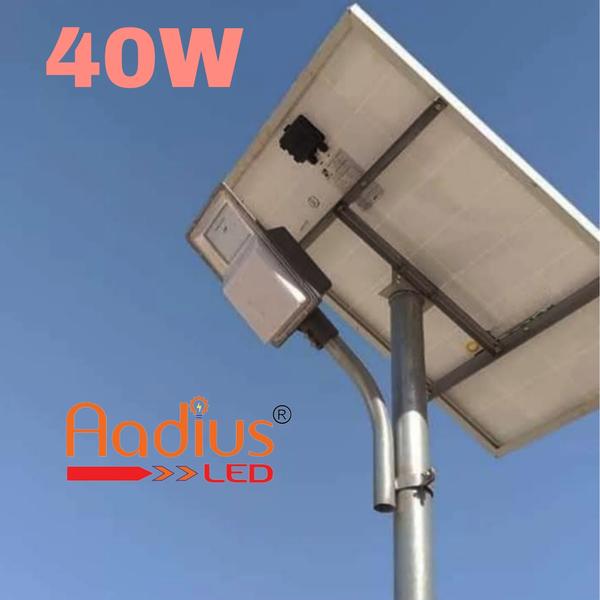
* Component Mounting:
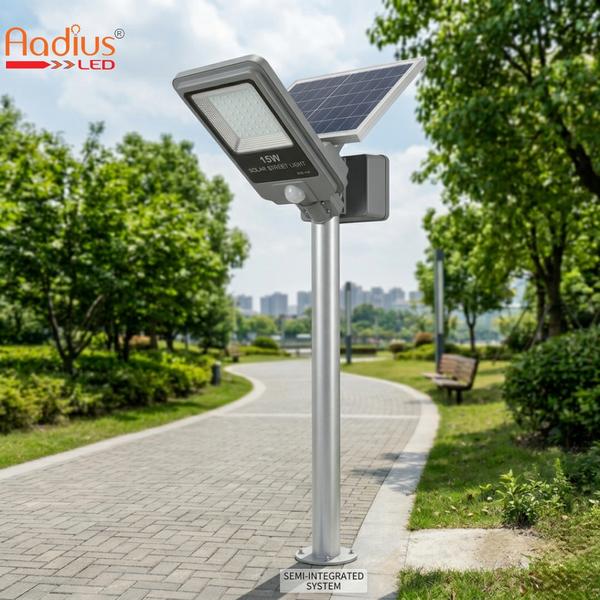
* Panel: Ensure it is mounted at the optimal tilt angle (typically latitude + 5-20° for year-round efficiency).
* Fixture: Secure with anti-vibration hardware if the area is high-traffic.
* Wiring/Polarity: Double-check all polarity connections before powering up. Use waterproof "plug-and-play" connectors where possible to prevent ingress.
* Ingress Protection: Seal all cable entries to prevent water ingress, which is the leading cause of controller failure.
* Controller Setup: Verify the dimming profile (motion-based vs. time-based) and ensure the MPPT/controller settings align with your battery chemistry (LiFePO4 profile).
4. Commissioning Checklist
Before signing off on the installation, perform these final tests:
* Full Power Test: Verify light output and coverage area.
* Sensor Calibration: Ensure the LDR/sensor isn't triggered by nearby ambient light (billboards/security lights), which would keep the light off at night.
* Fastener Check: Re-torque all critical fasteners after the initial assembly.
* Wiring Inspection: Ensure no cables are pinched or exposed to mechanical strain.
Pro-Tips for Your Business
* Maintenance Schedule: Advise clients to clean panels every six months (or more frequently in high-dust areas) to maintain efficiency.
* Documentation: Always provide an electrical circuit diagram and a maintenance schedule to the client. This builds professional trust and ensures the longevity of your hardware.